Sunday, August 31, 2008

Waste Branches - Rose on Branches

This is something very interesting to try out. We ignore waste materials, but just invest sometime to think on any creative things that you couls make out of waste.

Here is something that I did try. Some waste dried branches that I got and it turned out to be so beautiful after having a bits of paper work on it.

Materials:
1. Dried Branches
2. Colourful Crape paper
3. Green Crape paper
4. Varnish

How to make it:

1. Remove leaves from the branch and apply varnish all over the branch.

2. After its dried u can apply green colour on it or just keep it as it is to give the natural look.

3. Now cut small leaves out of green crape paper and stick on the branches.

4. Take the colourful crape paper and make flowers out of it and stick it onthe tip of the branches.

How to make flowers:

1. Take a piece of square paper. Using a dark pencil make circular doagram and cut the paper as it is drawn and cut the paper in the circular way itself.
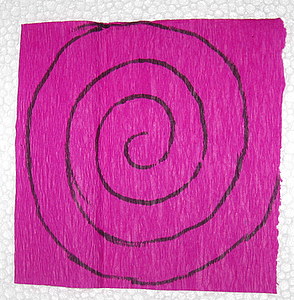

Step1

2. Roll the paper fromn one end and finish it to the other by just rolling it.

3. You will see beautiful rose flowers.

Now arrange the flowers on the branches. This is how you make a beautiful branch of flowers.

Here is one for you.
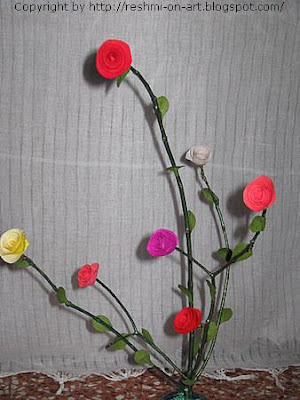

Waste-Rose on Branches

Duplex Paper Flower - Lilly Flowers

Lilly Flowers using Duplex paper. This duplex paper looks same as Crape paper, but duplex is much thick as compared to crape. Duplex paper got two sides with two different colours. So you can use either of the sides in anyways as per the colour requirement. Now will start with the making of Lilly Flowers.

Materials:
1. Duplex paper (any 2 colours)
2. Aluminium wire
3. Fevicol
4. Green Tape
5. Green Duplex paper (for leaves)

How to make it:
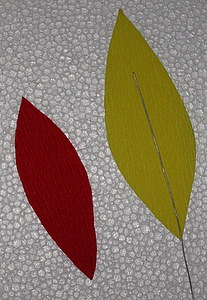
1. Firstly you have to make petals for flowers (5 petals for each flower). You have to cut the first petal in leaf shape and second petal smaller than the first (1 cm smaller to the bigger petal).

2. Suppose bigger petal is "Petal A" and smaller one is "Petal B". Now place the aluminium wire on "Petal A" as shown.


Step1

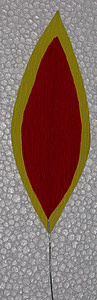
3. Apply fevicol over "Petal B" ans place it on "Petal A". Make sure the aluminium wire is placed properly as shown.

Step2

4. Your first petal is ready. Similarly make 5 petals of same size and shape, so that the flowers look even in shape.

5. Now arrange the petals one after the other and arrange then like flowers with the help of the left out aluminium wire.(No need of thread or glue).

6. Cover the wire with green tape.

7. Make flowers with green duplex paper in the same way as petals. Green Duplex paper got 2 sides dark green and light green side, so a you can arrange the leafs in the same way.

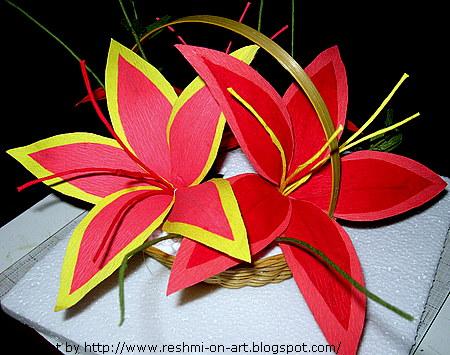
Here is a beautiful basket of Lilly Flowers ready.


Duplex Paper-Lilly Flowers

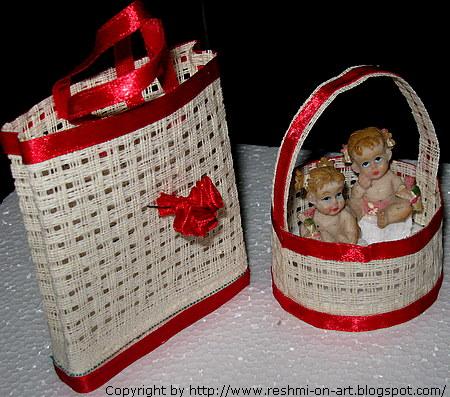
Matte Craft - Bag & Basket

This is very interesting craft that anyone can try out and it hardly takes some time to complete. By completing this craft you can make any

Materials:
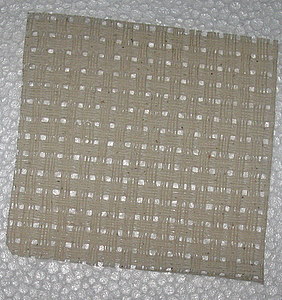
1. Matte Sheet (you'll come to know how the matte material is by seeing the picture below).
2. Pieces of thermocol
3. Satin ribbon
4. Fevicol

This is the Matte material.


Matte

Method:
1. Take a piece of matte according to what you want to make. Suppose you are going to make a basket cut the required matte in proper height and width.

2. Cut thermocol according to the required size. Thermocol is used for the base of as us need to cut that in round shape if preparing for basket.

3. Then paste one end of the matte on the thermocol and press it slightly.

4. With the help of satin ribbon decorate it as required.

Its a very easy and interesting craft that anyone can make.

You can make lot of different things with the matte. For eg: Flower Basket, Bag, Pen Stand, Jewellery Box, Mobile Cover etc.

So try out all different varieties of things you think you can make with this matte.

Here is one that I tried out


Matte Craft-Bag & Basket

Tissue Paper Flowers - The Beautiful Daisies

This is after sometime I am posting something, so I came up with something very interesting for you all.
Let us start with Tissue Paper Flower making. This is a bit time consuming but the after results are really amazing. Just try out yourself.

Materials required:
1. Tissue Paper (very thin paper)
2. Green Tape
3. Green Crape paper
4. Aluminium Wire
5. Fevicol

How to make:
1. Firstly arrange the tissue papers in proper order (8 approx).

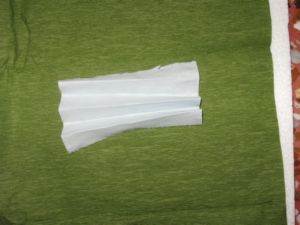
2. Arrange the tissues and make it in such a way that it looks like a fan. See the sample below.


3. Now tie the aluminium wire in the middle of the tissue and seperate each tissue very carefully.

Step1

4. As you start seperating each tissue from both sides you will get a beautiful flower ready.

5. Now cover the wire with the help of green tape.

6. As you have green crape papers make long leafs out of it and attach it along with the flowers.

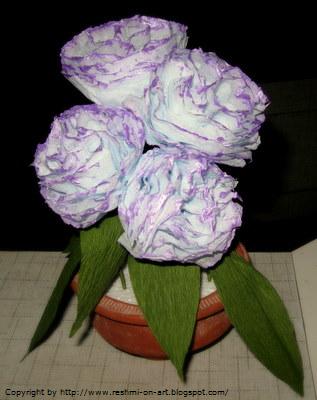
7. To make it more beautiful you can colour the flowers, colours it only on the tip of the flowers so that it gives a natural shaded look.

In the same way you can make lot of such flowers out of tissue papers and arrange it properly.

Here is a beautiful Tissue paper Flowers ready.


Tissue Paper Flowers-The daisies

Monday, August 25, 2008

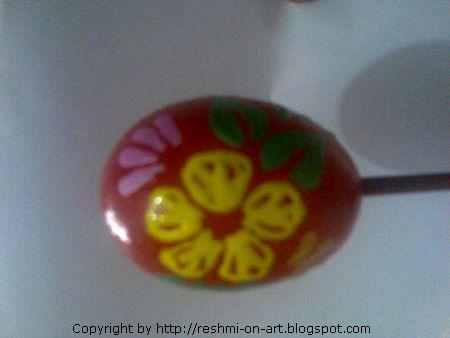
Egg Painting - Colourful Egg

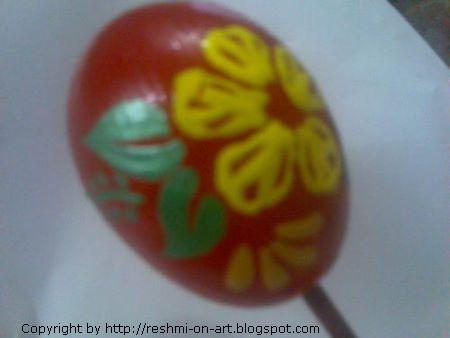
A very interesting thing that I would like to share with you all showing a very simple creativity by Egg painting. Any one can do this creative art but, with lot of patience. When doing egg painitng you need to be very careful so that the egg does not break. So hope you all ready to try out.

Materials:
1. Egg
2. Big needle
3. Colours

How to start with:
1. Puncture a small hole at the small and large end of egg with a big needle.

2. Place egg over a bowl and blow through the small hole until all of the inside is removed and rinse the shell with cold water and let it dry.

3. Now apply acrylic paint, select any colour and paint the egg with layer of colour and allow it to dry (approx 30 mins to dry).

4. Now its your own wish use your imagination and paint any design on the Egg.

5. If not good in making any design you can decorate the Egg using sequens golden threads some tiklis sparkles etc.

6. You can even make different birds and animal with some imagination according to the Egg shape.

So try out all possible things that you can.

Try this simple creativity and you will get amazing results.


Egg Painting

Egg Painting

Sunday, August 24, 2008

Leaf Painting - Leafy Natural Beauty

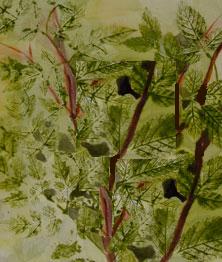
Leaf Painting is a unique kind of painting that can done on fabric or any materials that you would like to paint. Today here I'll let you know about Leaf painting on fabric material. Plain fabrics can be made attractive by leaf painting. This is a very simple painting even kids can try out. The painting can be made more attractive by using proper colours.

You need is:
1. Fabric Paint
2. Brush
3. Leaves (any size and shapes with thick vain)
4. Fabric that you wish to paint.

Procedure:
1. Firstly take leaves that you got make sure those are thick vained leaves to make the painting look very natural and colour the leaf on the back side completely with the chosen colour.

2. Now stick the leaves on the fabric and press well.

3. Leaves can be stuck according to your choice as it suits the fabric and now let the fabric dry for atleast 24Hrs.

4. After the painting gets dry do iron the design from back side so that the painting could last longer.

Note:
1. Before making the print on the good material it is better have a trial on a rough cloth.
2. You can stitch some sequences and beads to make the design more attractive.

Here are pictures for you.


Leaf Painting-Leafy Natural Beauty

Bangle Painting - Handmade Beauty

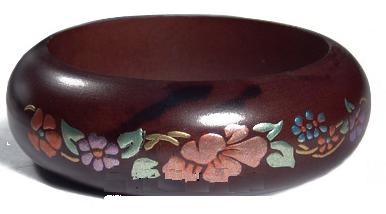
Bangle Painitng, yes a very simple thing if you gone through my other posts and got the idea of using colours and designs.

The same idea and technique should be used for painting a bangle.

Method:
1. You can easily get a broad wodden bangle from any accesories store.
2. Colour the bangle with any colour of your choice.
3. Then add any design of your choice over it.

Simple and you finised with a beautiful Bangle Painting.

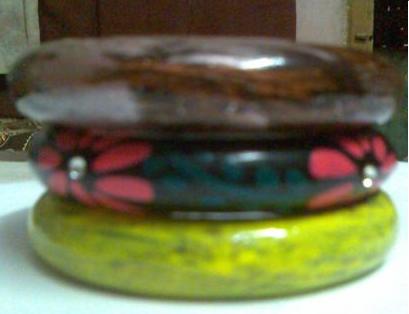
Here is some for you.


Bangle Painting-Brown Beauty

Bangle Paitning-Handmade Beauty